
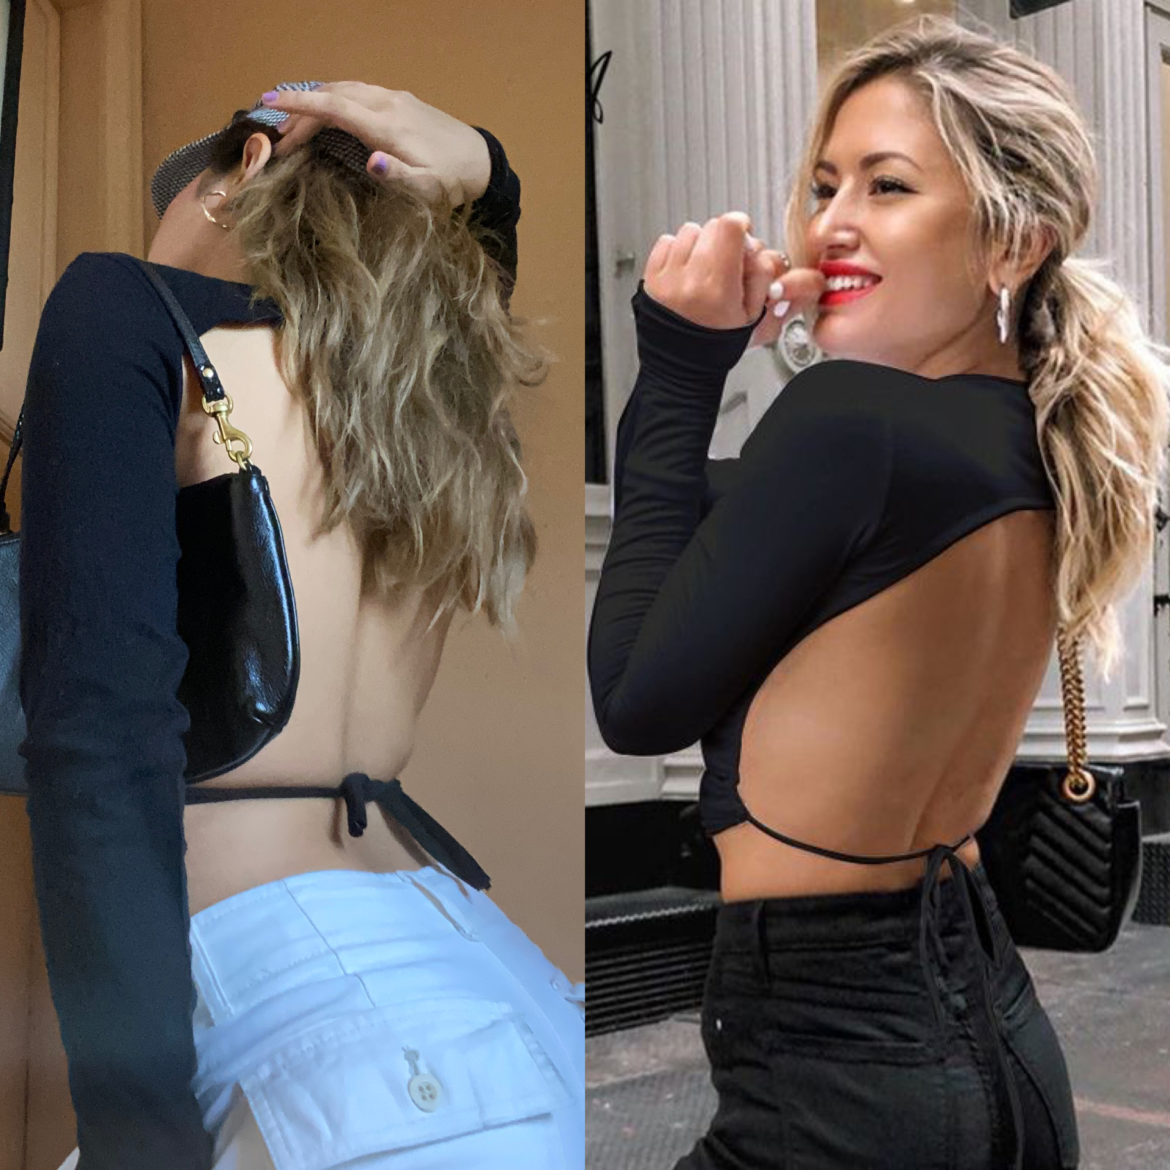
Every now and then, I like to take a break from my usual revealing tops to try some more reserved pieces. But if there’s one thing I love more than a token conservative fit, it’s what I call a “Catholic school girl” look aka anything that seems proper and demure on one side, but hides a fun and rebellious feature on the other.
The backless long sleeves top that has been going around Instagram is a perfect example of that, so was I going to miss out on the opportunity to hop on the trend just because the Community Quarantine prohibits us from going out to shop?
Of course not. After all, who said anything about going out?
I knew exactly what kind of top I was envisioning, so I just needed the right materials and steps to turn it into a reality .

Materials
- A fitted long sleeves top
- A pair of scissors
- A hot glue gun (alternatively, you can use fabric glue or sewing materials)
- Paper weights (or anything can weight down your fabric)
Steps
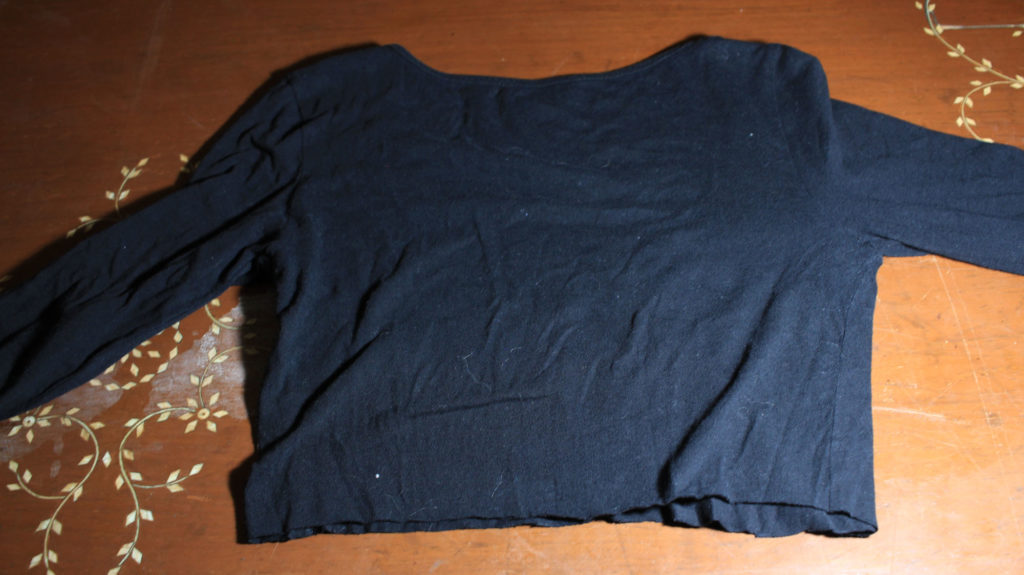
- Lay out your top flat on a surface. If you’re a perfectionist, you can iron out any wrinkles. In my case, I just straightened it out a little.

2. Crop it to your desired length. Again, if you’re a perfectionist, you can try on the top and mark where you want the length to stop in relation to your body. I like to freehand what I can, so I eyeballed mine.

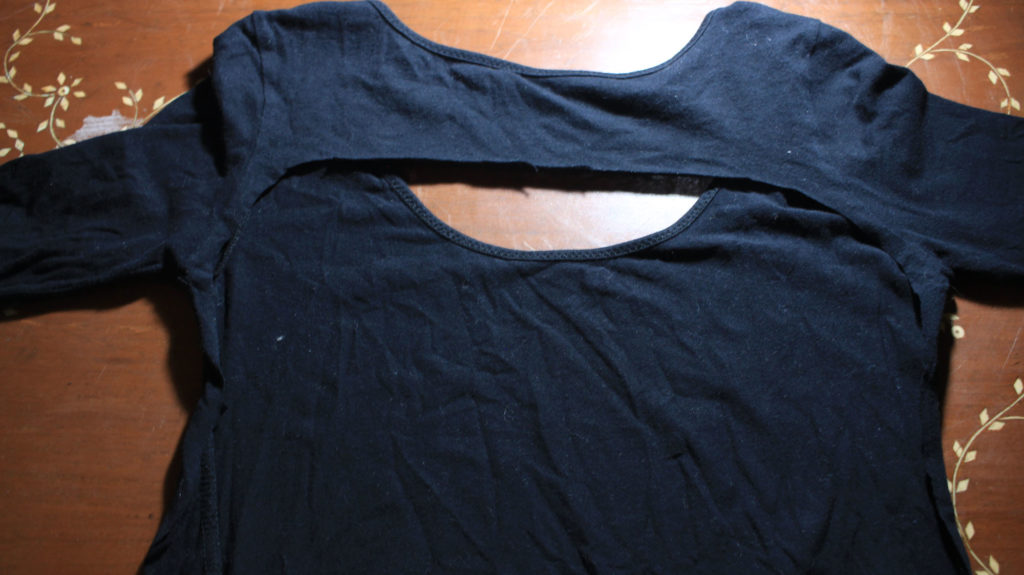
3. Flip it to the back.
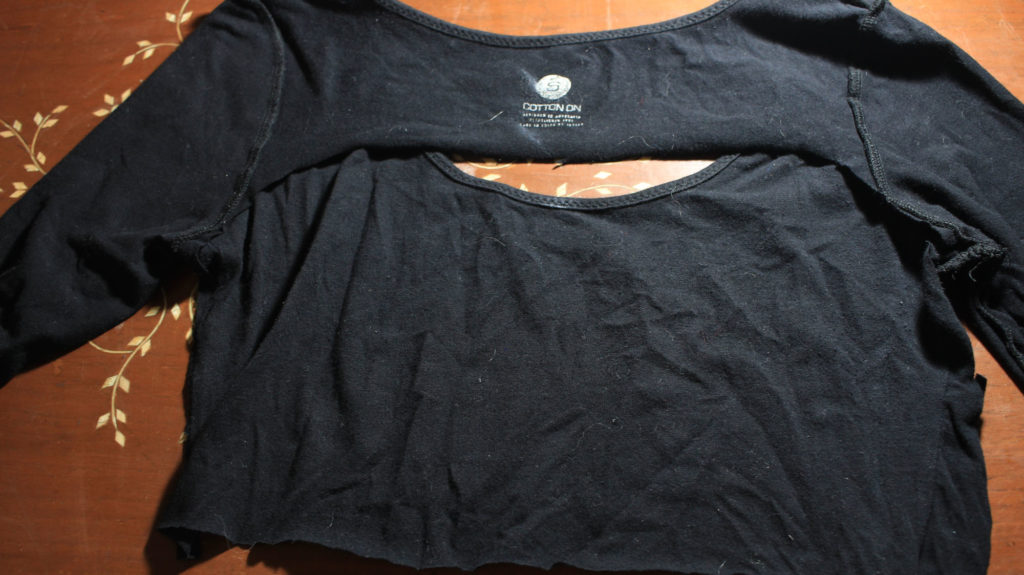
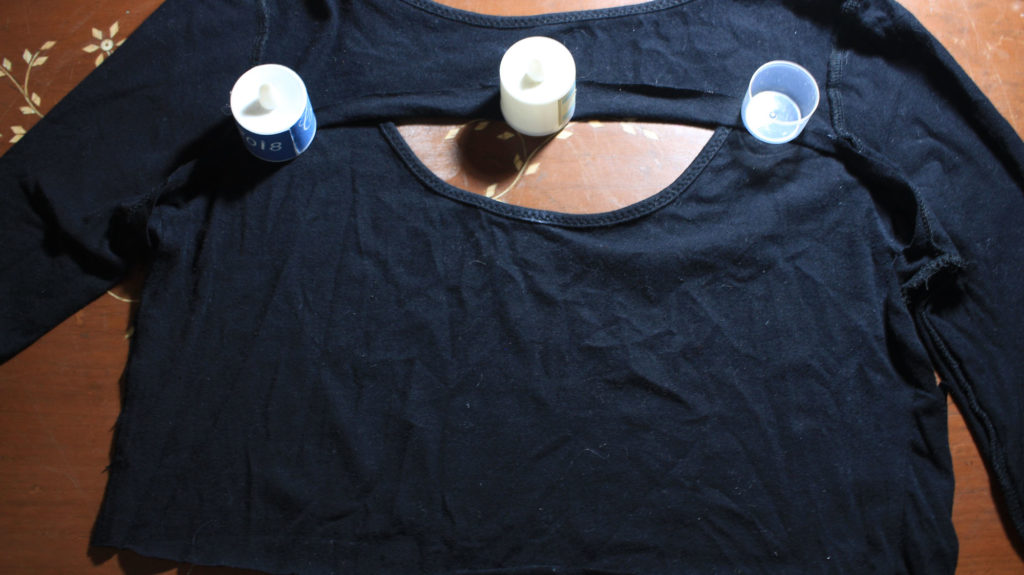
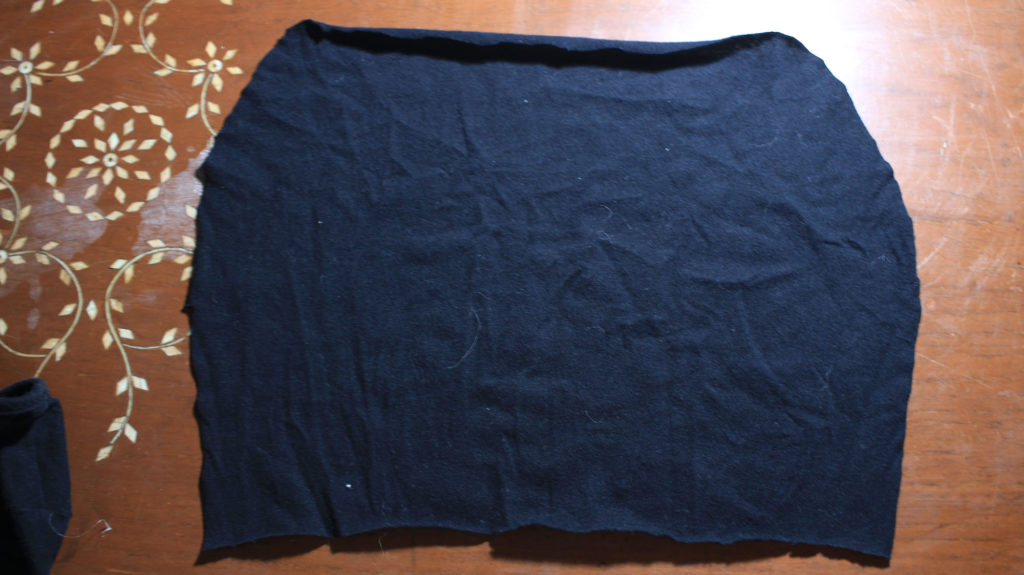
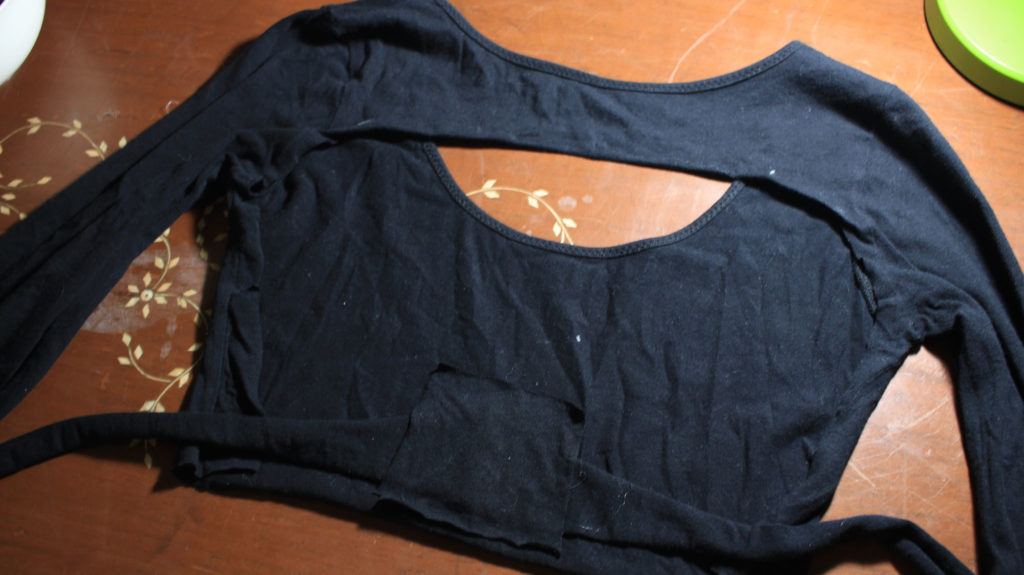
4. Cut out the back side following a high curve 3 inches away from the neckline, while making room for seam allowance. In truth, 3 inches is more of an estimate than a definite measurement. I eyeballed this one too, so depending on your top, you can gauge how high you want the curve to be. Note that you will be hemming this curve in the next step. Do not throw away the excess fabric, this will be needed later on.
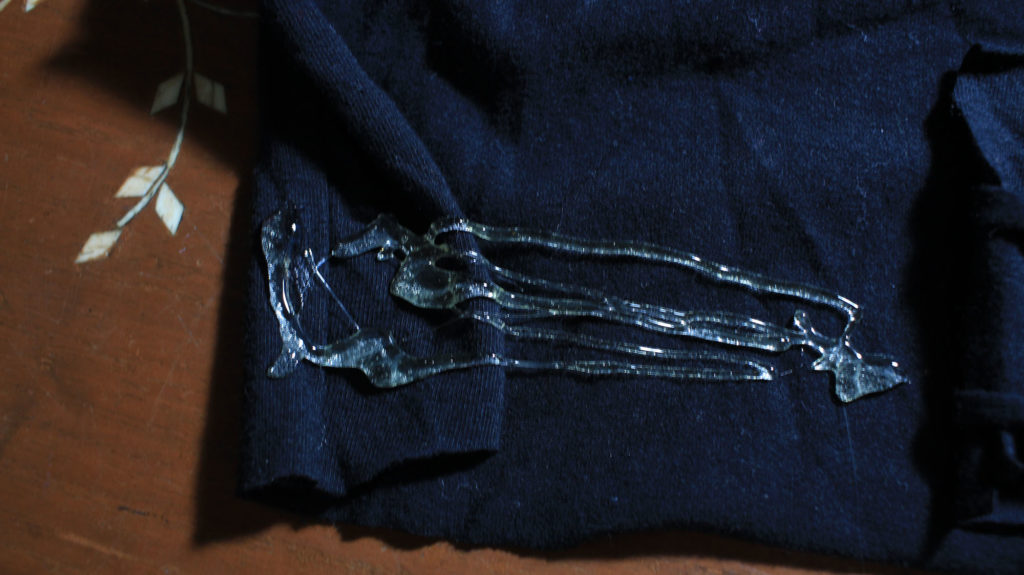
5. Flip the top inside out and fold the curve half an inch upwards. This is to ensure you won’t have any raw edges. Use the hot glue gun (or whatever you’re using to bind the fabric) to line the inner fold to seal it.
6. Press down on the hot glued folds with your weights. I just used the flat side of bottle caps and candles to press down on the fabric. Let this dry for around 3-5 minutes.

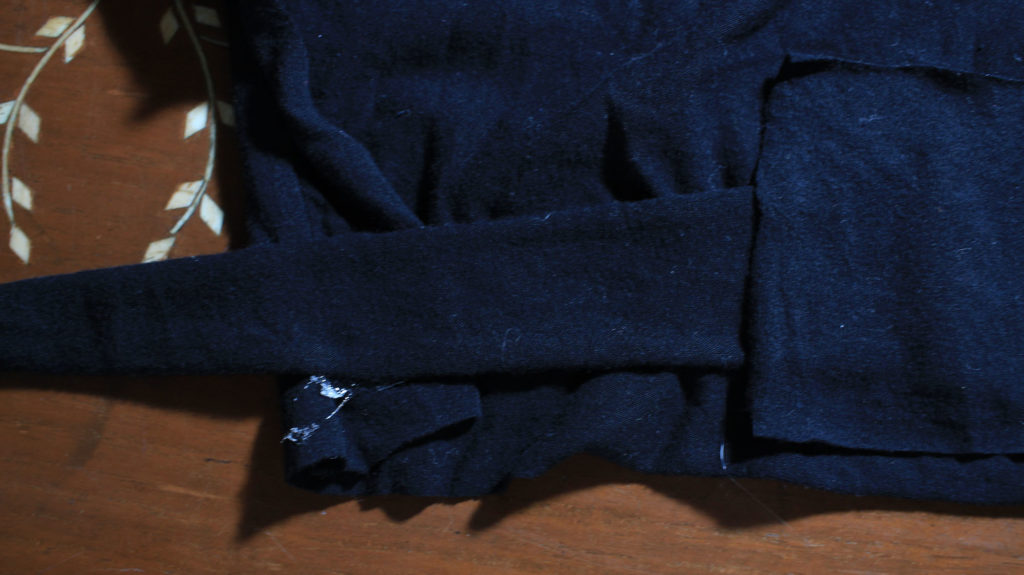
7. Flip your top back to normal, with the backside/inner side facing you. At this point, I had to fold in the sides because my top was slightly too big for me. If you’re using a fitted top, no need to fold in the corners.


8. Take your excess fabric and cut two 2 pieces measuring 2 1/2 inches. Again, this was another estimate. My fabric was pretty sturdy so I didn’t have to make these two pieces too thick. Alternatively, if you’re using a thinner material, definitely cut thicker pieces because we will be stretching these later.
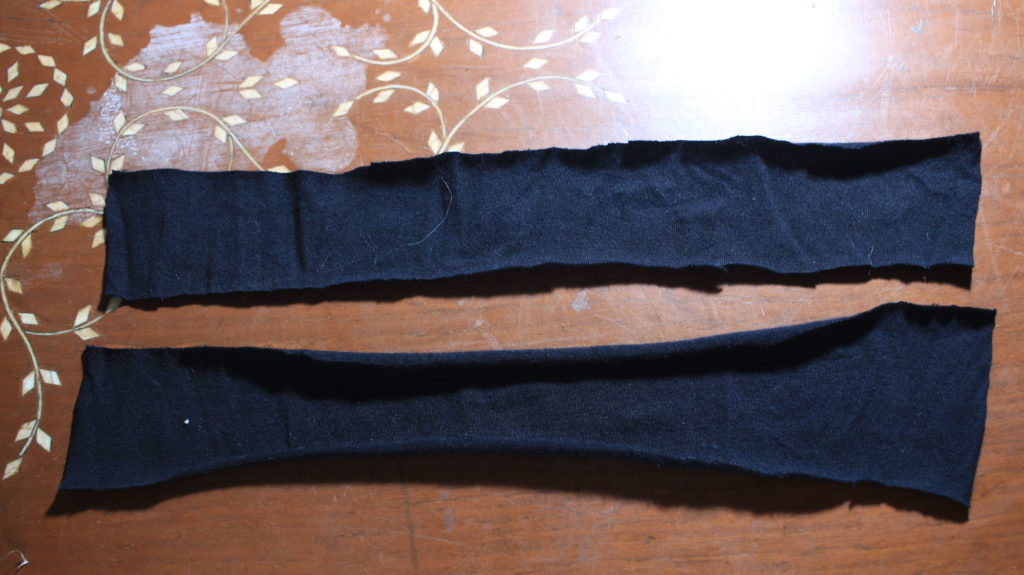
9. Glue the two pieces together. For maximum sturdiness, fold the pieces into each other. Let it dry for 3-5 minutes. These are now the straps of your top.


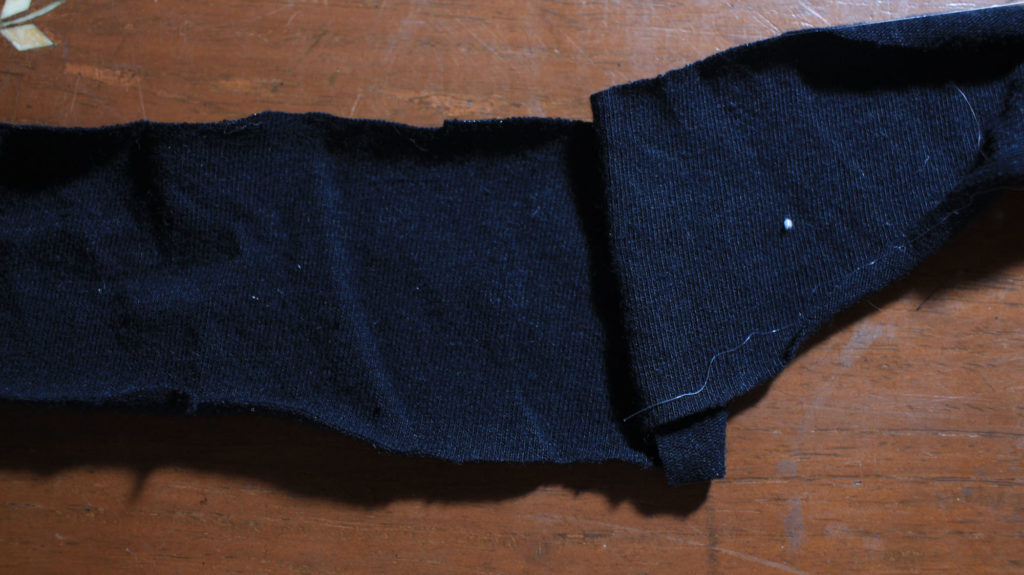

10. Take your top and glue the entire connected straps to the inside of your top. Make sure this reaches the very sides of the top.
11. Take your excess fabric again and cut out a small square 1 inch longer and wider than your straps. It must be big enough that if you put it over the center of the straps, it covers that portion completely.

12. Turn the square over and line the sides with glue.

13. Place the square on the center of the straps. This will act as a security fabric to ensure the straps do not move around.
Done! There you have it! Put the top on and wrap the straps around your waist.
Let me know if you try this DIY, and make sure to send me your results! I’d love to see your take on it.